fry daddy instructions
The Presto Fry Daddy 05420 electric deep fryer offers efficient frying with minimal oil. It automatically maintains the ideal frying temperature‚ ensuring crispy results every time. Perfect for delicious homemade meals.
Overview of the Fry Daddy and Its Features
The Fry Daddy is a compact‚ energy-efficient deep fryer designed for home use. It features automatic temperature control‚ ensuring consistent frying results. With a 4-cup oil capacity‚ it serves up to four generous portions. The fryer is easy to use‚ with a simple design that includes a lid‚ heating element‚ and a removable pot for convenient cleaning. It is ideal for frying a variety of foods like fries‚ chicken‚ and shrimp‚ while using less oil than traditional deep fryers. The Fry Daddy is a practical and user-friendly appliance for delicious homemade fried meals. Its compact size makes it perfect for small kitchens‚ and its durability ensures long-lasting performance. The fryer also comes with a detailed instruction manual‚ guiding users through setup‚ operation‚ and maintenance; This makes it accessible even for those new to deep frying. Overall‚ the Fry Daddy is a versatile and efficient kitchen appliance that delivers crispy‚ flavorful results with minimal effort. It is a great addition to any home kitchen‚ offering a balance of convenience‚ performance‚ and affordability. By following the instructions provided‚ users can achieve professional-quality fried dishes effortlessly. The Fry Daddy’s design focuses on safety‚ with cool-touch handles and secure lid placement‚ reducing the risk of accidents. This ensures a safe and enjoyable frying experience for everyone. Additionally‚ the fryer’s compact footprint allows for easy storage‚ making it a space-saving solution for frying enthusiasts. The Fry Daddy’s features are thoughtfully designed to enhance the frying process‚ making it a valuable tool for both novice and experienced cooks. Its ability to maintain the perfect frying temperature guarantees consistently crispy results‚ while the removable components simplify post-meal cleanup. This fryer is a testament to innovative kitchen design‚ combining functionality with ease of use to deliver exceptional performance. Whether frying for a family gathering or a quick snack‚ the Fry Daddy is a reliable and efficient choice. Its popularity among home cooks is a reflection of its effectiveness and user-friendly nature. With the Fry Daddy‚ achieving restaurant-quality fried foods at home has never been easier or more convenient. The fryer’s durable construction ensures it will remain a trusted kitchen companion for many meals to come. By adhering to the instructions and guidelines provided‚ users can fully utilize the Fry Daddy’s capabilities‚ exploring a wide range of delicious frying possibilities. This fryer is not just an appliance; it is a key to unlocking creative and tasty meal options. Its features are tailored to meet the needs of modern home cooks‚ blending tradition with innovation. The Fry Daddy is a must-have for anyone looking to elevate their frying game and enjoy perfectly cooked meals every time. It is a shining example of how thoughtful design can transform a simple appliance into a culinary essential. With the Fry Daddy‚ the art of frying becomes accessible‚ enjoyable‚ and rewarding for everyone. The fryer’s features‚ combined with its ease of use‚ make it an indispensable tool in the kitchen. It is a product that delivers on its promises‚ providing users with a hassle-free frying experience. The Fry Daddy is more than just a deep fryer; it is a gateway to endless culinary possibilities. Its features ensure that every frying session is a success‚ whether you’re preparing classic favorites or experimenting with new recipes. The Fry Daddy is a testament to the power of good design and functionality in the kitchen. It is a product that truly enhances the cooking experience‚ making it a worthwhile investment for any home cook. With the Fry Daddy‚ the joy of frying is within reach‚ and the results are nothing short of exceptional. The fryer’s features are designed to make frying easier‚ safer‚ and more enjoyable‚ ensuring that every meal is a delight. It is a product that understands the needs of home cooks and delivers accordingly. The Fry Daddy is a reliable‚ efficient‚ and user-friendly deep fryer that consistently delivers high-quality results. It is a product that has earned its place in the hearts and kitchens of many‚ and for good reason. The Fry Daddy’s features‚ performance‚ and ease of use make it a standout choice for anyone looking to elevate their frying skills. It is a product that exemplifies quality‚ durability‚ and innovation‚ ensuring that every frying experience is nothing short of exceptional. The Fry Daddy is a trusted companion in the kitchen‚ offering a perfect blend of functionality and convenience. Its features are designed to enhance the frying process‚ making it easier and more enjoyable for everyone. The Fry Daddy is a product that truly delivers‚ providing users with a frying experience that is both satisfying and rewarding. It is a must-have for any home cook looking to explore the world of deep frying with confidence and ease. The Fry Daddy’s features‚ combined with its user-friendly design‚ make it a valuable addition to any kitchen. It is a product that understands the needs of its users and delivers a superior frying experience. The Fry Daddy is a testament to the power of innovation in the kitchen‚ offering a frying solution that is both practical and effective. It is a product that has captured the hearts of many home cooks‚ and its features are a key reason why. The Fry Daddy is a deep fryer that truly stands out‚ offering a unique combination of performance‚ safety‚ and ease of use. Its features are designed to make frying accessible to everyone‚ regardless of skill level. The Fry Daddy is a product that delivers on its promises‚ ensuring that every frying session is a success. It is a must-have for anyone looking to enjoy perfectly cooked‚ crispy fried foods at home. The Fry Daddy’s features‚ including its automatic temperature control and compact design‚ make it a standout choice in the world of deep frying. It is a product that exemplifies quality‚ durability‚ and innovation‚ ensuring that every frying experience is nothing short of exceptional. The Fry Daddy is a trusted companion in the kitchen‚ offering a perfect blend of functionality and convenience. Its features are designed to enhance the frying process‚ making it easier and more enjoyable for everyone. The Fry Daddy is a product that truly delivers‚ providing users with a frying experience that is both satisfying and rewarding. It is a must-have for any home cook looking to explore the world of deep frying with confidence and ease. The Fry Daddy’s features‚ combined with its user-friendly design‚ make it a valuable addition to any kitchen. It is a product that understands the needs of its users and delivers a superior frying experience. The Fry Daddy is a testament to the power of innovation in the kitchen‚ offering a frying solution that is both practical and effective. It is a product that has captured the hearts of many home cooks‚ and its features are a key reason why. The Fry Daddy is a deep fryer that truly stands out‚ offering a unique combination of performance‚ safety‚ and ease of use. Its features are designed to make frying accessible to everyone‚ regardless of skill level. The Fry Daddy is a product that delivers on its promises‚ ensuring that every frying session is a success. It is a must-have for anyone looking to enjoy perfectly cooked‚ crispy fried foods at home. The Fry Daddy’s features‚ including its automatic temperature control and compact design‚ make it a standout choice in the world of deep frying. It is a product that exemplifies quality‚ durability‚ and innovation‚ ensuring that every frying experience is nothing short of exceptional. The Fry Daddy is a trusted companion in the kitchen‚ offering a perfect blend of functionality and convenience. Its features are designed to enhance the frying process‚ making it easier and more enjoyable for everyone. The Fry Daddy is a product that truly delivers‚ providing users with a frying experience that is both satisfying and rewarding. It is a must-have for any home cook looking to explore the world of deep frying with confidence and ease. The Fry Daddy’s features‚ combined with its user-friendly design‚ make it a valuable addition to any kitchen. It is a product that understands the needs of its users and delivers a superior frying experience. The Fry Daddy is a testament to the power of innovation in the kitchen‚ offering a frying solution that is both practical and effective. It is a product that has captured the hearts of many home cooks‚ and its features are a key reason why. The Fry Daddy is a deep fryer that truly stands out‚ offering a unique combination of performance‚ safety‚ and ease of use. Its features are designed to make frying accessible to everyone‚ regardless of skill level. The Fry Daddy is a product that delivers on its promises‚ ensuring that every frying session is a success. It is a must-have for anyone looking to enjoy perfectly cooked‚ crispy fried foods at home. The Fry Daddy’s features‚ including its automatic temperature control and compact design‚ make it a standout choice in the world of deep frying. It is a product that exemplifies quality‚ durability‚ and innovation‚ ensuring that every frying experience is nothing short of exceptional; The Fry Daddy is a trusted companion in the kitchen‚ offering a perfect blend of functionality and convenience. Its features are designed to enhance the frying process‚ making it easier and more enjoyable for everyone. The Fry Daddy is a product that truly delivers‚ providing users with a frying experience that is both satisfying and

Unboxing and Assembly
Unboxing the Fry Daddy reveals a compact‚ easy-to-assemble design. Remove all components‚ including the pot‚ lid‚ and heating element. Rinse the pot before first use. Assembly is straightforward‚ requiring no tools‚ ensuring quick preparation for frying.
Step-by-Step Guide to Unboxing
Begin by carefully opening the Fry Daddy box. Inside‚ you’ll find the main unit‚ a pot‚ lid‚ and power cord. Remove each component and place them on a clean‚ flat surface. Inspect all parts for damage. Next‚ rinse the pot with warm water to ensure cleanliness. Finally‚ allow all parts to air dry before proceeding with assembly or use. This ensures a safe and hygienic setup for your first frying experience.
Assembling the Fry Daddy for First Use
Start by washing and drying all parts. Attach the pot to the main unit‚ ensuring it clicks securely into place. Plug in the power cord‚ but avoid touching hot surfaces. Place the Fry Daddy on a heat-resistant surface. Follow the manual’s assembly guide for precise instructions. Once assembled‚ preheat the fryer before adding oil for safe and efficient frying.

Preheating the Fry Daddy
Preheat the Fry Daddy to 375°F for optimal frying results. Allow the fryer to reach the set temperature before adding food for crispy‚ evenly cooked dishes.
How to Preheat the Fryer for Optimal Results
Preheating the Fry Daddy is essential for achieving crispy results. Simply plug in the fryer‚ set the temperature to 375°F‚ and allow it to preheat for about 5-10 minutes. Once preheated‚ the fryer will maintain the perfect temperature automatically. Ensure the fryer is fully heated before adding food for evenly cooked dishes. Always handle the preheated fryer with care‚ as the surfaces may be hot.
Understanding Temperature Settings
The Fry Daddy features automatic temperature control‚ maintaining the optimal frying temperature of 375°F. This ensures consistent results without manual adjustments. The fryer is designed to handle a variety of foods‚ from delicate vegetables to crispy meats‚ by automatically regulating heat. Always follow the recommended temperature settings for different food types to achieve the best frying outcomes. Proper temperature control enhances both flavor and texture.

Preparing Food for Frying
Ensure food is dry and cut into appropriate sizes for even frying. Ideal for fries‚ shrimp‚ chicken‚ and onion rings. Pat dry excess moisture for crispy results.
Best Practices for Food Preparation
For optimal results‚ ensure food is dry and cut into uniform sizes. Pat dry excess moisture to achieve crispiness. Portion sizes should not exceed 4 cups. Avoid overcrowding the basket for even frying. Peel vegetables like potatoes for consistent results. Follow recommended food types‚ such as fries‚ shrimp‚ or chicken‚ for best performance in the Fry Daddy.
Recommended Foods and Portion Sizes
Perfect for frying 1-4 cups of food. Ideal options include fries‚ shrimp‚ chicken‚ onion rings‚ and vegetables. Ensure portions are evenly sized for consistent results. Avoid overloading the basket to maintain quality. Follow the guide for best outcomes and crispy texture with minimal oil usage.
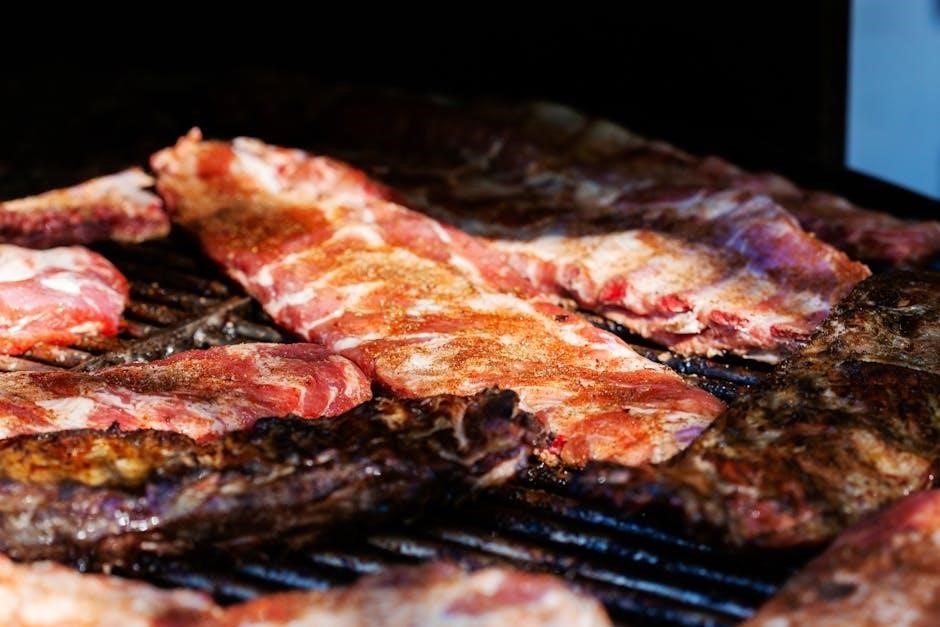
Frying Instructions
- Preheat the Fry Daddy to the recommended temperature for your food.
- Load the basket with 1-4 cups of food‚ avoiding overcrowding for even frying.
- Fry until golden and crispy‚ then drain excess oil for the best results.
Frying Times and Temperatures for Different Foods
For crispy results‚ fry chicken at 375°F for 8-12 minutes‚ french fries at 350°F for 3-5 minutes‚ and shrimp for 2-4 minutes. Adjust times based on food quantity and size. Avoid overcrowding the basket for even cooking. Always refer to the user manual for specific temperature and time recommendations to ensure optimal frying results every time.
How to Achieve Crispy Results
Preheat the Fry Daddy to the recommended temperature for your food. Pat dry food thoroughly before frying to remove excess moisture. Use the right oil‚ like vegetable oil‚ and ensure it’s hot enough. Fry in batches to avoid overcrowding‚ allowing food to cook evenly. For extra crispiness‚ try double frying—fry once at a lower temperature‚ then again at a higher temperature. This ensures a golden‚ crunchy finish every time.

Safety Precautions
Avoid touching hot surfaces; use handles to prevent burns. Keep children away and ensure the fryer is placed on a heat-resistant surface. Never submerge the appliance in water.
Important Safety Tips While Using the Fry Daddy
Always read the instructions before first use. Never touch hot surfaces or handles without protection. Keep the Fry Daddy away from children and flammable materials. Avoid overfilling the oil tank beyond the recommended level to prevent spills. Regularly check the cord and plug for damage. Unplug the fryer when not in use to ensure safety.
Handling Hot Surfaces and Avoiding Accidents
Always use oven mitts or tongs to handle the Fry Daddy’s hot basket and avoid splashing oil. Never touch the fryer’s exterior or heating element without protection. Keep children away and ensure the fryer is on a stable surface. Allow it to cool before cleaning and avoid sudden temperature changes. Regularly inspect handles and parts for wear to maintain safety.
Where to Find the Instruction Manual
Cleaning and Maintenance
Regularly clean the Fry Daddy by draining used oil and washing the basket and lid with warm‚ soapy water. Dry thoroughly to prevent rust and store properly for longevity.