jiu jitsu gi size guide
A proper-fitting Jiu Jitsu gi is essential for optimal performance, safety, and comfort during training․ This guide helps you navigate size charts, measurements, and fit considerations to ensure you select the right gi for your needs, whether you’re a beginner or an advanced practitioner;
Importance of Proper Fit
A well-fitting Jiu Jitsu gi is crucial for both performance and safety․ It ensures unrestricted movement, preventing discomfort or injuries during training․ A proper fit also enhances grip control for opponents, promoting fair and effective techniques․ Additionally, a gi that fits correctly minimizes distractions, allowing you to focus on your training․ Ill-fitting gis can lead to restricted mobility, chafing, or even wardrobe malfunctions, which can hinder your performance․ Proper fit also contributes to hygiene and longevity of the gi, as it prevents excessive wear and tear․ Ultimately, the right fit boosts confidence and ensures a better overall training experience․
History of the Gi
The Jiu Jitsu gi has its roots in traditional Japanese martial arts, evolving from the kimonos worn by samurai․ Initially designed for judo, the gi was adopted by Jiu Jitsu practitioners due to its durability and practicality․ The modern gi consists of a jacket, pants, and belt, crafted from cotton or cotton blends․ Over time, its design has been refined to meet the specific needs of Jiu Jitsu training, with variations in weight, weave, and style emerging․ The gi remains a symbol of tradition, respect, and discipline in Jiu Jitsu, connecting practitioners to the art’s rich cultural heritage while ensuring functionality and comfort during training․
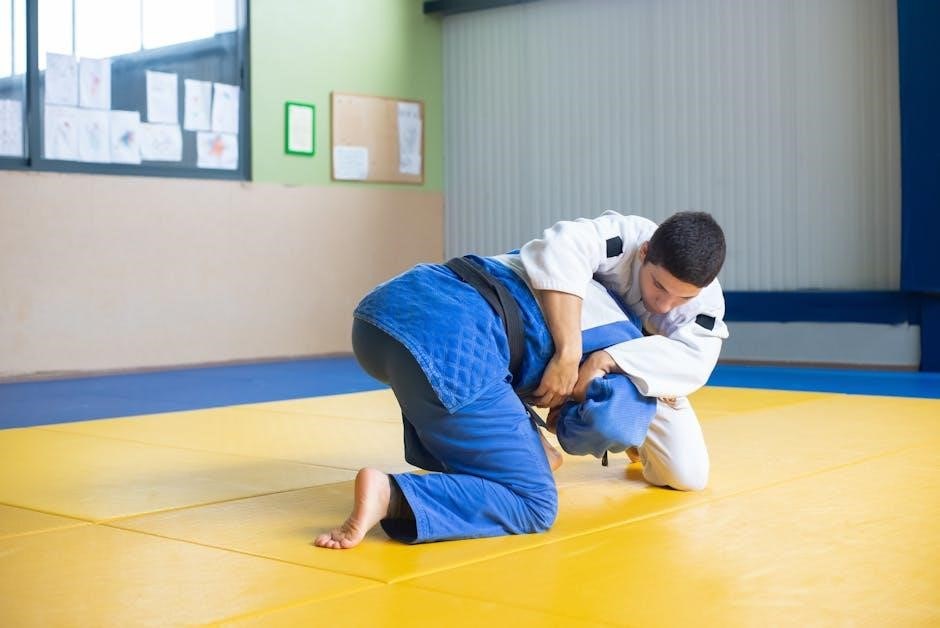
Understanding How a BJJ Gi Should Fit
A properly fitting BJJ gi ensures optimal mobility, comfort, and safety․ It should allow for a full range of motion while maintaining a snug, secure fit to prevent distractions during training and competition․
Jacket Fit
A well-fitting BJJ gi jacket should feel snug but not restrictive, with the chest area lying flat against your body․ The shoulders should align perfectly, neither too tight nor too loose․ Sleeves should reach your wrists when arms are extended, ensuring proper coverage during rolls and transitions․ The jacket’s hem should fall just above the hips, providing a tailored fit without restricting movement․ A proper fit ensures optimal comfort and performance, preventing distractions during training․ The V-neck design should sit comfortably, avoiding chafing or gapping․ Remember, a fitted jacket enhances mobility while maintaining durability and adherence to competition standards․
Pants Fit
Properly fitting BJJ gi pants are essential for comfort and mobility during training․ The waistband should sit comfortably, neither too tight nor too loose, ensuring secure coverage․ The inseam should reach just above the ankle when standing, allowing for a full range of motion without excess fabric․ Pants should be snug around the thighs but not restrictive, with a reinforced knee area for durability․ Drawstrings or elastic waistbands help maintain a secure fit․ When measuring, consider shrinkage after washing, as cotton pants may tighten slightly․ Proper fit ensures optimal performance, preventing distractions and discomfort during rolls and transitions․
Belt Fit
A properly fitting BJJ belt is snug but not overly tight, allowing for a full range of motion․ It should sit comfortably around your natural waistline, providing adequate support without digging into your skin․ The belt should stay securely in place during training, even with vigorous movement․ When measuring, ensure the belt wraps around your waist twice, overlapping slightly, and the tip extends no further than your hipbone․ Cotton and bamboo belts are popular choices, with cotton being more durable and bamboo offering a softer feel․ Proper belt fit ensures comfort and stability during rolls and transitions, enhancing your training experience․
Understanding Gi Sizes (A1, A2, etc․)
BJJ gi sizes are categorized as A1, A2, A3, up to A6, with each size corresponding to specific height and weight ranges․ These designations help practitioners find a gi that fits their body proportions․ A1 is designed for shorter and lighter individuals, while A6 accommodates taller and heavier athletes․ Sizes increase gradually, ensuring a balanced fit for varying body types․ Some brands also offer slim or husky cuts within these sizes to better suit different builds․ Understanding your size ensures a gi that is neither too tight nor too loose, optimizing comfort and performance during training or competition․
BJJ Gi Size Charts
BJJ gi size charts provide standardized measurements for men, women, and kids, helping practitioners choose the right fit based on height, weight, and inseam lengths․
Men’s Size Chart
Men’s BJJ gi size charts are organized by height and weight, typically ranging from A0 to A6․ Each size corresponds to specific measurements for jacket length, pants inseam, and weight․
- A0: Designed for shorter practitioners, usually under 5’2″ and 110 lbs․
- A1: Fits those around 5’3″-5’6″ and 120-140 lbs․
- A2: Ideal for 5’7″-5’9″ and 140-160 lbs․
- A3: Suitable for 5’10”-6′ and 160-180 lbs․
- A4: For taller athletes, 6’1″-6’3″ and 180-200 lbs․
- A5 and A6: Designed for larger frames, over 6’3″ and 200 lbs․
These charts help ensure a proper fit, balancing comfort and performance for training and competition․ Always consider shrinkage when choosing your size․
Women’s Size Chart
Women’s BJJ gi size charts cater to a range of body types, typically from F1 to F5․ Sizes are based on height, weight, and jacket/pants measurements․
- F1: Fits shorter athletes, around 4’11”-5’2″ and 90-110 lbs․
- F2: Suitable for 5’3″-5’5″ and 110-130 lbs․
- F3: Ideal for 5’6″-5’8″ and 130-150 lbs․
- F4: Designed for taller practitioners, 5’9″-6′ and 150-170 lbs․
- F5: For larger frames, over 6′ and 170 lbs․
These sizes ensure a balanced fit for comfort and mobility during training and competition, while also accounting for shrinkage after washing․
Kids’ Size Chart
Kids’ BJJ gi sizes typically range from M1 to M5, designed to fit children of various ages and body types․ These sizes are based on height and weight to ensure a proper fit․
- M1: Suitable for younger children, around 3-5 years old, weighing 40-60 lbs․
- M2: Fits children aged 6-8 years, weighing 60-80 lbs․
- M3: Ideal for 9-11 years old, weighing 80-100 lbs․
- M4: Designed for pre-teens, 12-14 years old, weighing 100-120 lbs;
- M5: For larger or older kids, 14+ years, weighing over 120 lbs․
These sizes ensure a comfortable and functional fit for growing athletes, with adjustments for shrinkage after washing․
How to Read a Gi Size Chart
Reading a BJJ gi size chart involves understanding the relationship between size categories (A1, A2, etc․) and measurements like height, weight, and inseam․ Start by identifying your measurements, then locate the corresponding size on the chart․ Most charts list sizes in order, with each size representing a range of heights and weights․ Pay attention to notes about shrinkage, as gis may shrink after washing․ Some charts also include separate sections for men, women, and kids․ Match your measurements to the closest size, considering personal fit preferences․ If unsure, compare your measurements across multiple brands, as sizing can vary slightly․
How to Measure Yourself for a BJJ Gi
Measure your chest, waist, and height for jacket length․ Measure pants inseam from crotch to ankle․ Check weight to ensure proper fit and size accuracy․
Measuring Jacket Length
To measure jacket length, stand upright and place the tape measure at the base of the collar at the back․ Run it straight down to the bottom hem․ Ensure the tape is level and not twisted․ This measurement helps determine the gi’s length, which should fit comfortably without being too restrictive․ Proper jacket length ensures compliance with size standards and optimal mobility during training or competition․ Accurate measurement is key to selecting the right size from the gi size chart, ensuring a balance between comfort and regulation requirements․
Measuring Pants Inseam
To measure pants inseam, stand upright and place the tape measure at the base of the crotch․ Extend it along the inside of your leg to the bottom of your ankle bone․ Ensure the tape is straight and not twisted for accuracy․ This measurement helps determine the optimal pant length, ensuring comfort and mobility during training․ Proper inseam length prevents the pants from being too short or too long, which can affect performance․ Accurate measurement is crucial for selecting the right size from the BJJ gi size chart, ensuring a perfect fit that meets your training needs․
Measuring Weight
Measuring weight is a crucial step in determining your BJJ gi size․ Use a reliable scale to get an accurate reading․ Weight helps estimate size, as gi sizes often correlate with body weight ranges․ Stand barefoot and in minimal clothing for the most precise measurement․ Keep in mind that weight fluctuations can affect your gi fit over time․ Some brands use weight as a primary factor in sizing charts, so it’s essential to consider this metric․ Combine weight with other measurements for the best fit․ Always check the specific brand’s sizing guidelines, as weight ranges may vary․
Factors That Influence Gi Size
Your weight, body type, and height are key factors in determining the right gi size․ These elements help ensure a comfortable and proper fit for training․
Shrinkage After Washing
Cotton gis can shrink after washing, especially in hot water, which may affect the fit․ Expect up to 2-4% shrinkage, mainly in sleeve and pant lengths․ To minimize this, wash in cold water and air dry․ Pre-shrinking by washing before first use can help․ Some brands offer pre-shrunk gis for consistency․ Shrinkage is a key factor when choosing a size, as a gi that fits perfectly before washing may become too tight afterward․ Always check the care label and consider potential shrinkage when selecting your gi size for optimal comfort and performance․
Differences in Brands
Each BJJ brand has its own fit style, with variations in jacket length, sleeve width, and pant cut․ Some brands cater to specific body types, offering slim, standard, or relaxed fits․ Fabric weight and weave also differ, affecting how the gi drapes and moves․ Sizing charts may vary slightly between brands, so it’s important to check measurements rather than relying on size labels․ Personal preference plays a significant role, as some prefer a tighter fit for competition, while others opt for a looser gi for comfort․ Always research the brand’s sizing guide to ensure the best fit for your needs and training style․
Personal Preference
Personal preference significantly influences BJJ gi size choices, as comfort and performance are subjective․ Some practitioners prefer a snug fit for better control and competition readiness, while others opt for a looser fit for ease of movement and training comfort․ Fabric weight is another consideration, with lighter gis offering breathability and heavier ones providing durability․ Additionally, personal style, such as color and design, can sway decisions․ Balancing these preferences with proper fit and functionality is key to selecting a gi that aligns with individual needs and enhances training experiences․ Prioritize what matters most to ensure optimal performance and satisfaction․
How to Choose the Right Gi for Your Needs
Choosing the right gi involves considering fit, comfort, and purpose․ Select lightweight gis for training or heavy-duty ones for competitions․ Prioritize fabric quality and personal style preferences․
Fabric Weight
Fabric weight is a key factor in choosing a gi, as it impacts durability, comfort, and performance․ Gis are typically categorized by their weight in grams per square meter (g/m²)․ Lightweight gis (400g/m²) are ideal for training in hot environments or for competitors seeking minimal restriction․ Medium-weight gis (450-500g/m²) offer a balance of durability and mobility, making them suitable for everyday use․ Heavyweight gis (550g/m² or more) are often preferred for their robust construction and longevity, though they may feel stiffer․ Your choice should align with your training intensity, climate, and personal comfort preferences․
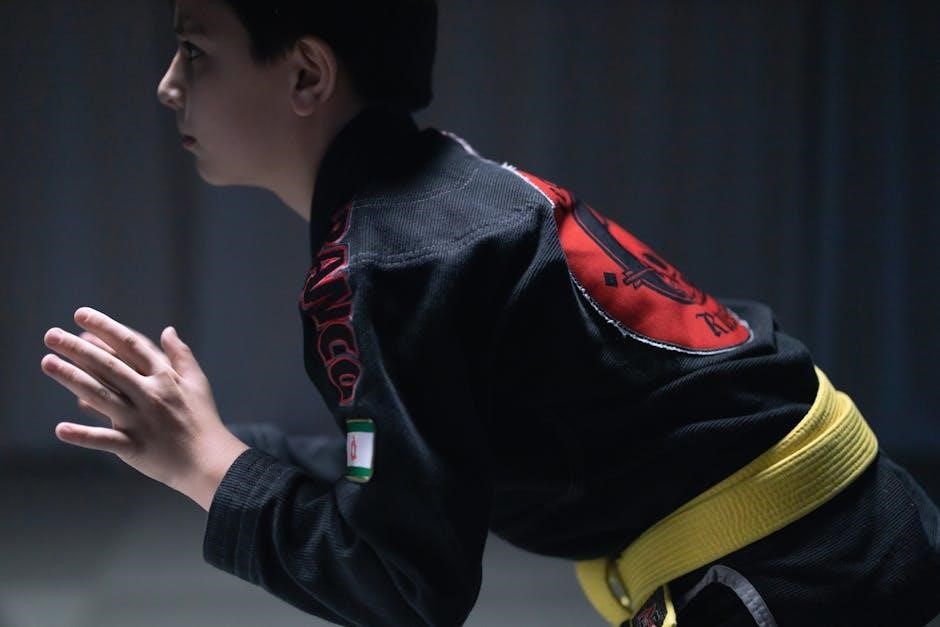
Color and Design Options
BJJ gis come in a variety of colors and designs, allowing practitioners to express their personal style․ While traditional colors like white, blue, and black remain popular, many brands offer vibrant hues such as navy, green, and even pink․ Designs range from minimalistic to elaborate, featuring unique patterns, patches, or embroidery․ Some gis incorporate cultural or thematic elements, making them stand out․ When choosing, consider both functionality and aesthetics․ While design is a matter of preference, ensure it complies with your gym or competition rules, as some organizations may restrict certain colors or designs․ Balancing style and regulation is key․
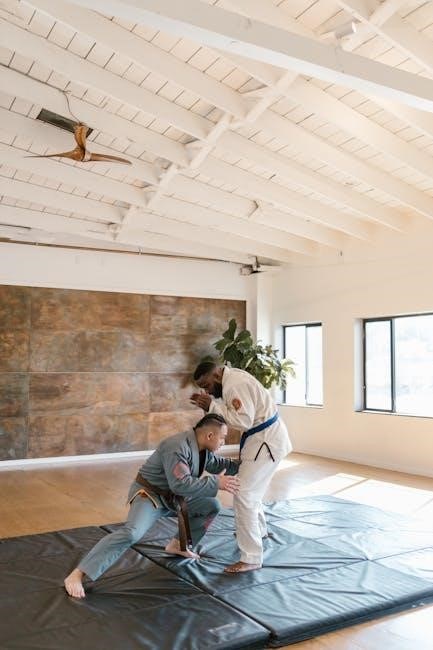
Competition vs․ Training Gi
A competition gi is designed to meet strict regulations, such as those set by the IBJJF, with specific weight, material, and design requirements․ Training gis, however, prioritize comfort and durability for daily use․ Competition gis are typically lighter and have a more minimalistic design to avoid providing grip advantages․ Training gis often feature heavier fabric and reinforced stitching for longevity․ When choosing, consider your primary use․ If competing, opt for a gi that meets tournament standards․ For training, prioritize durability and comfort․ Understanding the differences ensures you select the right gi for your needs, enhancing performance and longevity․
Tips for Finding the Perfect Fit
Tips for Finding the Perfect Fit
- Measure yourself accurately before ordering to ensure the best fit․
- Try on the gi to check comfort and mobility․
- Consult size charts and read reviews for fit consistency․
- Consider personal preference for a snug or relaxed feel․
- Seek advice from experienced practitioners or instructors․
When to Choose a Larger Size
Choosing a larger size is advisable if your measurements fall on the higher end of a size range or if you prefer a looser fit for enhanced mobility․ A larger size accommodates broader shoulders or longer limbs and allows for potential shrinkage after washing․ It’s also suitable if you anticipate body changes or need to meet specific competition regulations․ Considering brand variations and personal comfort, opting for a larger size ensures a more comfortable training experience․ Always consult size charts and reviews to make an informed decision, ensuring the gi meets both functional and regulatory standards․
Washing and Shrinking Tips
Proper washing and care can prevent excessive shrinkage and maintain your gi’s fit․ Wash your gi in cold water and avoid using fabric softeners, as they can break down the material․ Turn the gi inside out to protect the fabric and embroidery․ Air-dry the gi instead of using a dryer, as heat can cause significant shrinkage․ If you must use a dryer, choose a low-heat setting․ Pre-shrinking a new gi in cold water before the first use can help ensure a consistent fit․ Regular washing after each use keeps the gi clean and prevents odor buildup․ Proper care extends the life of your gi․
How Tailoring Can Help
Tailoring can be a game-changer for achieving the perfect gi fit․ If your gi is slightly too large or small, a professional tailor can make precise adjustments to the sleeves, pants, or collar․ For example, shortening the sleeves or hemming the pants can create a more streamlined fit․ Tailoring is especially useful for addressing specific fit issues without compromising the gi’s functionality․ Many tailors specialize in martial arts uniforms and can ensure modifications meet competition standards․ Investing in tailoring can extend the life of your gi and enhance your training performance․ It’s a worthwhile option for those seeking a customized fit․
IBJJF Gi Size Standards
The IBJJF sets strict regulations for gi sizing to ensure fairness in competition․ These standards dictate specific measurements for jacket length, pant length, and material thickness to maintain uniformity․
Regulations
The IBJJF has established specific regulations for gi sizing to ensure uniformity and fairness in competitions․ These rules dictate the maximum and minimum measurements for jacket length, pant length, and sleeve width․ The gi must fit properly, with the jacket reaching the hip when standing upright and the pants ending above the knee․ Material thickness is also regulated to prevent excessive weight or stiffness․ All gis must meet these standards to be approved for competition․ Athletes are required to wear gis that comply with these regulations during tournaments to avoid disqualification․ Proper adherence ensures a level playing field for all competitors․
How Standards Affect Size Choice
IBJJF standards significantly influence gi size selection, ensuring compliance with competition rules․ These standards dictate specific measurements for jacket length, sleeve width, and pant fit, guiding athletes to choose gis that meet regulatory requirements․ While personal preference plays a role, adhering to these standards ensures eligibility for tournaments․ For example, a gi that meets IBJJF standards will have a jacket that reaches the hip and pants that extend above the knee․ Understanding these guidelines helps athletes select the correct size, balancing both comfort and competition readiness․ Proper sizing ensures fairness and avoids disqualification, making it essential for serious practitioners to prioritize these standards when choosing a gi․
Maintenance and Care
Maintenance and care involve regular washing in cold water, avoiding fabric softeners, and air-drying to prevent shrinkage and extend the gi’s lifespan․ Proper storage and cleaning routines preserve quality and hygiene․
Preventing Shrinkage
Preventing shrinkage is crucial to maintaining your gi’s fit and longevity․ Wash your gi in cold water to avoid heat-related shrinkage․ Avoid using hot water or dryers, as heat causes fabric contraction․ Air-dry your gi by laying it flat or hanging it, ensuring even drying․ Turn the gi inside out before washing to protect the fabric from friction․ Use mild detergents without fabric softeners, as they can damage the material․ Some brands pre-shrink their gis, but consistent cold-water care is still essential․ Regularly checking fit after washing helps ensure your gi remains comfortable and properly sized for training․
Proper Care Tips
To maintain your jiu jitsu gi’s quality and fit, proper care is essential․ Always wash your gi in cold water with a mild detergent to prevent damage and color fading․ Avoid using fabric softeners, as they can weaken the fabric over time․ Air-dry your gi by laying it flat or hanging it, ensuring it dries completely to prevent mildew․ Store your gi in a cool, dry place to maintain its condition․ Regularly inspect for loose threads and repair them promptly; Avoid leaving your gi rolled up or in a damp environment, as this can lead to mold or odors․ Proper care extends the life of your gi and ensures optimal performance during training․
Troubleshooting Gi Fit Issues
If your gi is too tight, consider exchanging for a larger size․ For a loose fit, alterations like shortening sleeves or pants can improve comfort and performance․
What If Your Gi is Too Tight
If your gi is too tight, it can restrict movement and cause discomfort during training․ First, check if you ordered the correct size by referring to the size chart․ If you did, consider whether shrinkage occurred after washing, as many gis shrink slightly․ To address a tight fit, try washing the gi in cold water and hanging it to dry to minimize further shrinkage․ If the gi remains too tight, consider exchanging it for the next size up or seeking alterations, such as extending the sleeves or pants․ Proper fit is essential for optimal performance and comfort in jiu-jitsu training․
What If Your Gi is Too Loose
If your gi is too loose, it may interfere with your training by getting in the way or bunching up during drills․ A loose fit can also make it easier for opponents to grip material․ To address this, consider exchanging for a smaller size or having the gi tailored to fit better․ Additionally, washing the gi in hot water and drying it on high heat can shrink the fabric slightly․ Ensure the belt is tied tightly to keep the jacket secure․ A well-fitting gi is essential for performance, comfort, and hygiene, so don’t hesitate to make adjustments for a better training experience․
Alterations and Modifications
Alterations and modifications are effective ways to achieve a custom fit for your gi․ Common adjustments include shortening sleeves or pants, tightening the jacket, or adjusting the collar․ Tailors specializing in martial arts gear can make precise modifications to ensure optimal comfort and performance․ Some brands offer pre-alteration sizing options, allowing you to request specific measurements before delivery․ Additionally, embroidery or patch placement can be modified to suit personal preferences․ These changes ensure your gi meets both functional and aesthetic needs, enhancing your training experience without compromising durability or regulations․
Return and Exchange Policies
Understanding return and exchange policies is crucial when selecting a gi․ Most brands offer a 30-day return window, allowing you to exchange for a different size or receive a refund․ Gis must typically be in their original condition with tags attached to qualify․ Some companies charge a small restocking fee, while others provide free exchanges․ Before purchasing, review the seller’s policy to ensure it aligns with your needs․ This flexibility is especially helpful if you’re unsure about sizing or fit․ A smooth return process can save time and ensure you find the perfect gi without hassle․
Choosing the right BJJ gi size involves understanding proper fit, measuring accurately, and considering factors like shrinkage and personal preference․ Use size charts as a guide, but account for brand differences and weight fluctuations․ Prioritize comfort and mobility while adhering to competition regulations if necessary․ Fabric weight and design should align with your training needs․ Regular maintenance, like proper washing, can extend your gi’s lifespan․ By following these steps, you’ll find a gi that enhances your performance and ensures a comfortable training experience․ Remember, a well-fitting gi is a vital investment for any practitioner․
Encouragement to Find the Perfect Fit
Investing time in finding the perfect BJJ gi fit is worth the effort․ A well-fitting gi enhances performance, boosts confidence, and ensures comfort during training․ Don’t settle for restrictive or overly loose uniforms, as they can hinder movement and focus․ With the guidance provided, you can make informed decisions and narrow down your options․ Remember, the right fit is achievable, whether you’re a beginner or an experienced practitioner․ Take the initiative to try sizes, read reviews, and seek advice from experts․ Your training deserves the best foundation—a gi that feels like a second skin․